
the little angel
Stephanie was shocked when I suggested making Journey's christening gown out of her wedding gown. I had to talk her into it really. But when she saw her little angel in the dress she had worn exactly 6 years and 1 day before, tears came to her eyes.

wedding gown
Stephanie's dress featured an A-line skirt with corset back. It was a beautiful dress, but there wasn't a lot of fabric in perfect condition to work with. Imagine how hard it was for me to cut into after spending $$$ on it!! As I started to take it apart I was surprised to find that the entire dress was completely lined with self fabric! Then there was an interlining. I quit counting the boning strips at 40. I'm sure it was quite hot and heavy to wear.

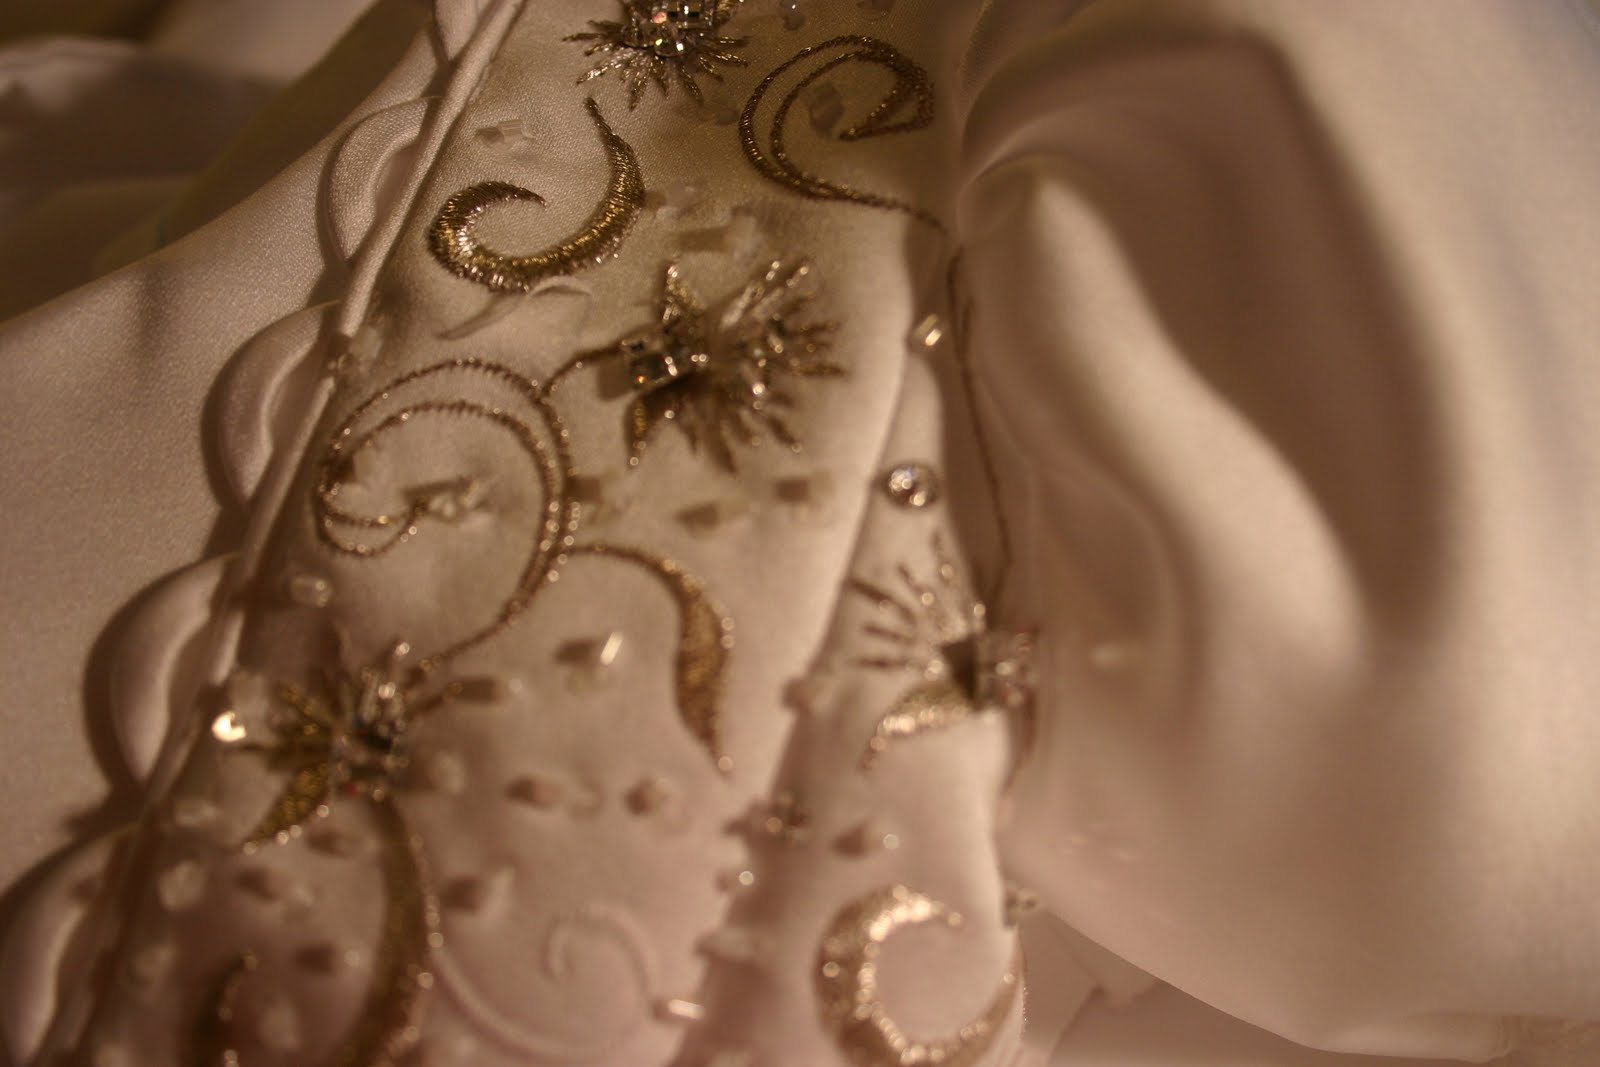
bodice construction
As I looked at the back of the dress, with the loops for the corset ties sewn in place, I wondered how I could use them in the christening gown. The picture above shows my pattern piece laid over the two back sides of the of the dress. The loops are forming a "V" shape on the bodice front. In the center I placed the "modesty panel" from the back of the gown (which was already finished!) and after stitching them all together, cut my bodice front. Perfect!! The wedding gown featured a beautiful silvery-bronze embroidery with Swarovski crystals, bugle beads and sequins. With all of that going on, the christening gown didn't really need any embellishments. I made simple puff sleeves with entredeaux and lace and silk satin ribbon to gather. The wedding gown had no lace at all, so I did purchase the entredeaux, lace, and ribbon (and cheated a little by buying satin covered buttons). Otherwise, the entire christening gown was made from the wedding gown.
Because the wedding gown was A-line, I had to cut the christening gown skirt in panels (3 for front and 3 for back), and add a hem band at the bottom, to get enough fabric. I do have enough scraps left over to make a little boy's outfit if needed in the future.
The bodice of the gown was so detailed and beautiful. I was able to make darts to use the entire bodice as Journey's bonnet.
The gown featured embroidery on one side, just below waist pleats. I used that flourish of embroidery to cut little slippers for Journey. I used a scallop embroidery stitch on the machine to finish all edges and added silk satin ribbon to tie. I embroidered the soles of the little shoes with her name and date of baptism.

sleeve detail
bodice details
Wow - what a creative idea and it turned out beautifully. We have a very creative family, don't we? Love all your posts. I'm insanely jealous of all the salsa, which I seem to devour by the quart. Do you have a job outside the home? If so - how the heck do you do it? Kathy
ReplyDeleteHA! Funny, yes I DO have a job outside the home. How do you think I pay for all this stuff?? I don't watch much TV for one thing and I only read NON-fiction (to learn how to do all this stuff). Plus my husband does all the "heavy lifting".
ReplyDeleteYes, we are all creative. Obviously we get that from Mom. I don't think Dad could even wield a hammer or paintbrush.
If I didn't have to work (at a real job that is), there are so many things I would love to pursue and most involve "home arts". In the perfect world I would make a living from photography, sewing, and various other creative endeavors.